Call for first purchase
Pop-ups are a great way to capture customers who have visited your website or e-shop and get in touch with them. Best of all, you can sell them something right away. And it's a good idea to encourage them to do so. With Incomaker we can do this very easily.
1) Creating a pop-up window
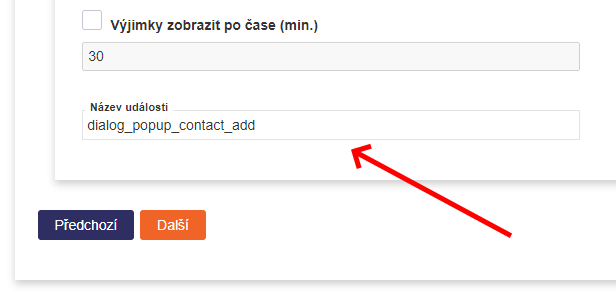
Creating a popup window is described in other articles. Each popup creates an event (signal) after the user fills it in. The name of this event can be set in the popup settings. It can be named arbitrarily.

2) Create an event to send a prompt
The event is what drives the actions that will happen in Incomaker. An example of an event is filling in a popup window (or making a purchase, etc.). Such an event can trigger various actions, such as sending an email.
Open the Event Manager in the Settings menu (gear wheel).

Create two new events in the event manager. Click on Create New and the event setup dialog will open.
In the Resulting Event field, we will name the event something. Preferably something simple, concise. For example, 24 hours from registration. In the Time difference field, enter how much time should elapse before the event occurs, i.e. 1 day. In the current version of the interface, the time is entered in minutes. One day is 24*60 = 1440 minutes. In the Initial Event field, the event that starts the process must be selected. This is the aforementioned popup completion. For example, dialog_popup_contact_add and can be found in the list.
We want to prompt a customer who has not purchased anything from us for 24 hours, so this event we created must not occur if a purchase has occurred in the meantime. We set this up by expanding Advanced and selecting the purchase event, i.e. order_add, in the Termination event (so if a purchase occurs, we won't send the prompt).

In exactly the same way, we can create a second event right away: a week from registration. The only difference will be the name and the length of the period. 1 week represents 10080 minutes.
3) Sending an email
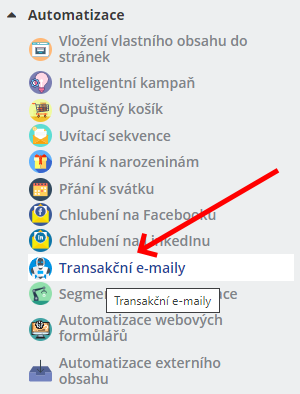
There is only one thing left to do: if an event occurs within 24 hours of registration, send the customer a reminder email. In the Campaigns tab, select Transactional emails.

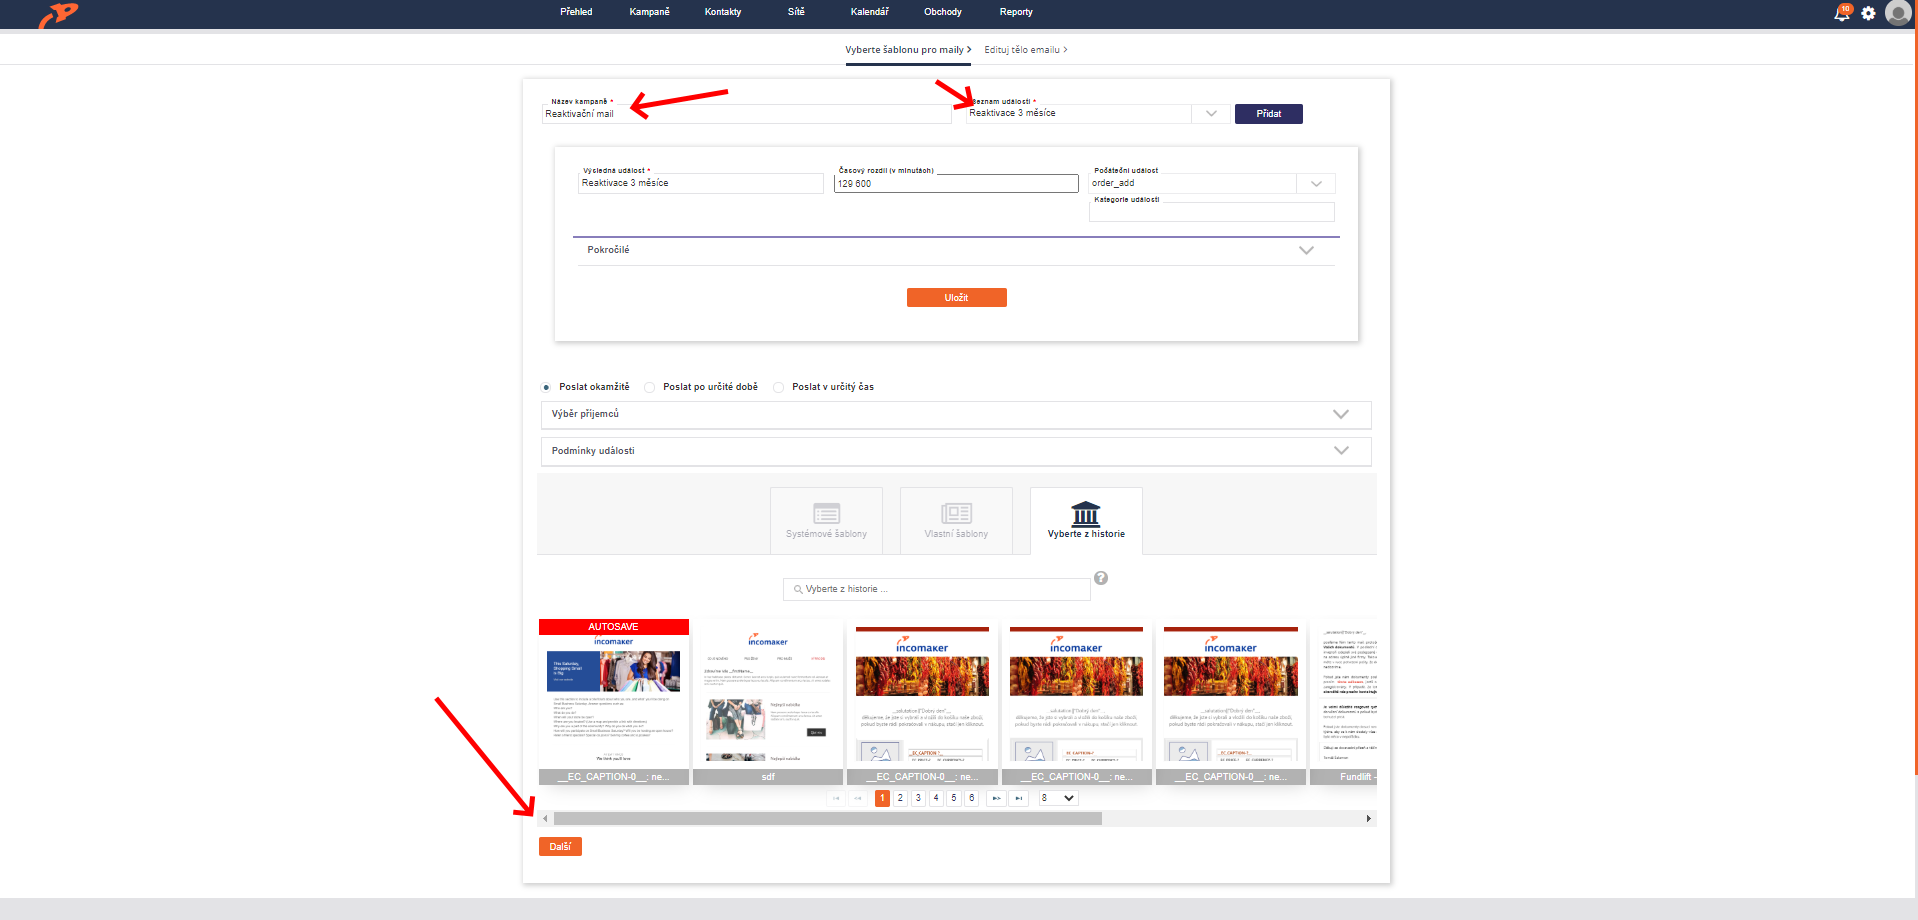
Name your campaign and select the event to send the email in the Event List. It's the 24 hours from registration that we defined a while ago. We can skip the rest and go straight down to the bottom where we'll choose a template and click Next.

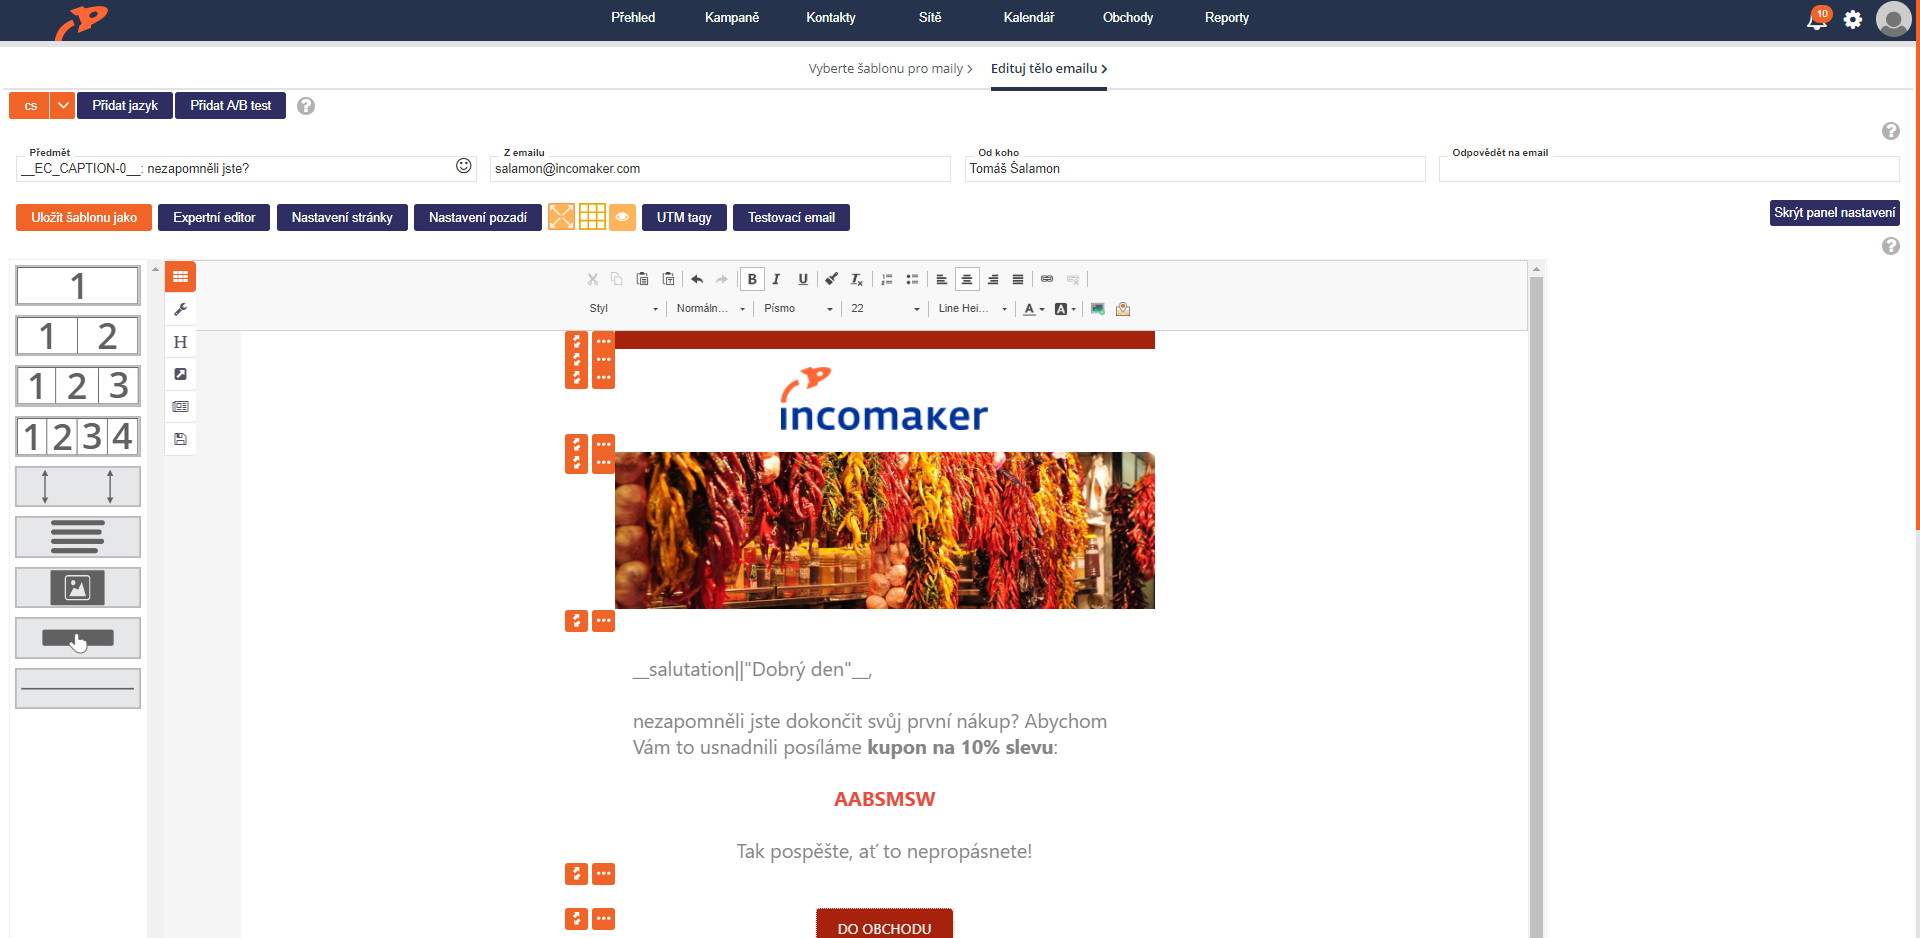
We're in the editor, where we work just like we do for any other mailing.
And that's it. Click the Finish button at the bottom to save the settings.

In the same way, we will create a second email that will be sent after a week if the customer has not purchased by then.