Posting to Your Blog and Notifying Your Audience
The Importance of Blogging
According to a recent study conducted by Hubspot, companies that published 16+ blog posts per month got almost 3.5X more traffic than companies that published 0-4 monthly posts. Blogging can also boost your SEO, develop stronger relationships with your customers, and connect people to your products and brand. Incomaker allows you to easily post content and notify your audience about the post at the same time with just the click of a button.
How to Make a Blog Post and Notify Your Audience
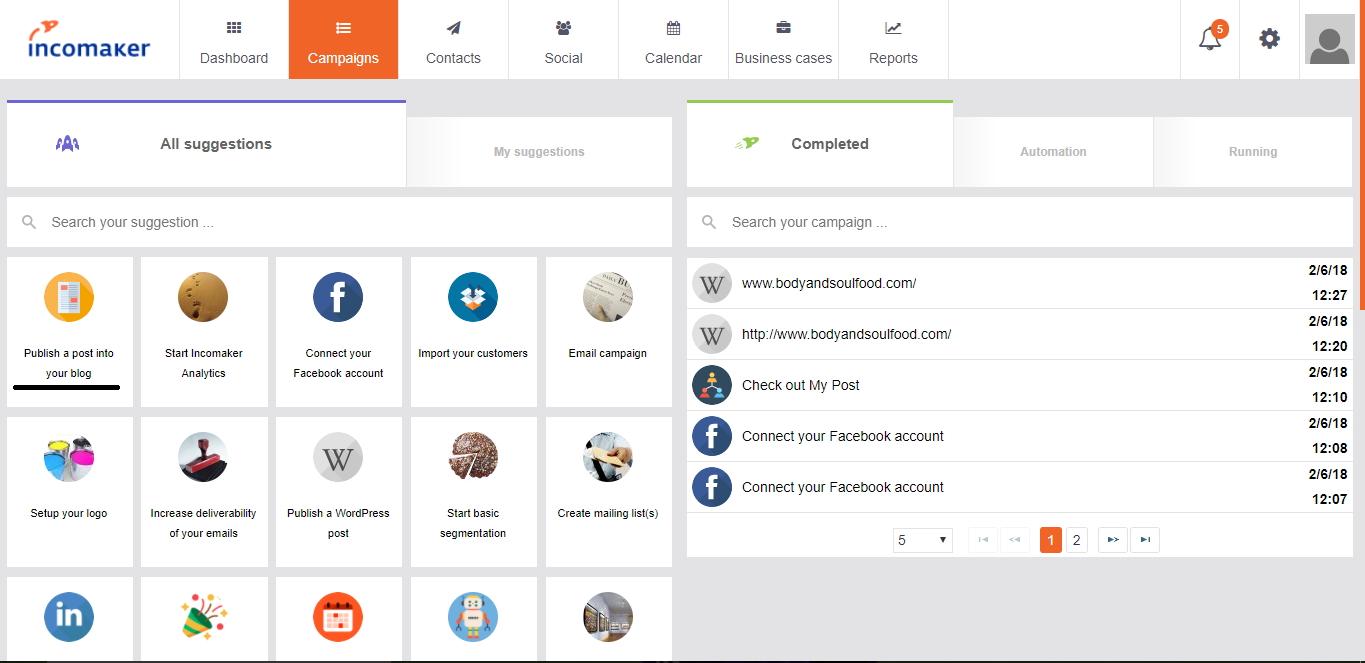
To post to your blog and notify your audience at the same time, start by clicking Campaigns and then select Publish a WordPress Post.

Choose a wordpress template and then edit the content of your wordpress post. You have the multi language option where you can select another language to create simultaneous posts in different languages (note: you have to translate the post yourself). And you have the option to make the post public, private, or a draft. After you have finished editing your post you can post it to a certain category if you’d like. Simply check the box next to the category you would like to put it under, or don’t check any at all
Once your post is finalized click Send to immediately post to Wordpress.
Notify Your Customers About Your Blog Post via Facebook
After completing your post, you will be given an option to notify your Facebook followers about your new post. If you have multiple Facebook pages, you can choose which pages will be notified of your blog post. We recommend that you add a title and image to your notification in order to increase traffic to your blog post. To notify your facebook users immediately, select Send and Proceed. To schedule your notification at a time of your choice, select Schedule and choose your preferred date and time.
Notify Your Customers About Your Blog Post via Email
You will also be given an option to notify your customers via email that you have made a blog post. First, make sure to verify your email. This can be done by adding your email to the from email box and then clicking the Verify email button. Check your inbox, open the verification email, and select Click to Verify Email Address.
Next, choose a template for you notification email. You can then customize the content of the email by dragging and dropping different sections. Select Next when you have finished customizing your email.
You will now have the option to choose the recipients of your notification email. You can either choose to send your email to certain individuals or to all of your contacts. To send to all of your contacts, click the Select all my contacts button. To send your email immediately, select Send and Proceed. To schedule your email at a time of your choice, select Schedule and choose your preferred date and time.